Your first board with Claude
This page takes you from nothing to a board that Claude founded and keeps working on with you. You install the Lanework skills in Claude Desktop, ask Claude for a board, open it once in Lanework, and then work the board by talking to Claude while you watch the app update.
It was written against Claude Desktop 5.1231.2. The plugin screens may look different in a later release.
What you need
Section titled “What you need”- A Mac running macOS 26 or later, with Lanework installed. See Getting started.
- Claude Desktop, signed in, with its Code tab. The Lanework skills support Claude Code, so use the Code tab and not Chat.
- A project folder to put the board in.
Install the Lanework skills
Section titled “Install the Lanework skills”The skills teach Claude what a board is and how to work one. You add them once, from the Lanework skills repository.
-
In Claude Desktop, open Settings, choose Customize, then choose Plugins.
-
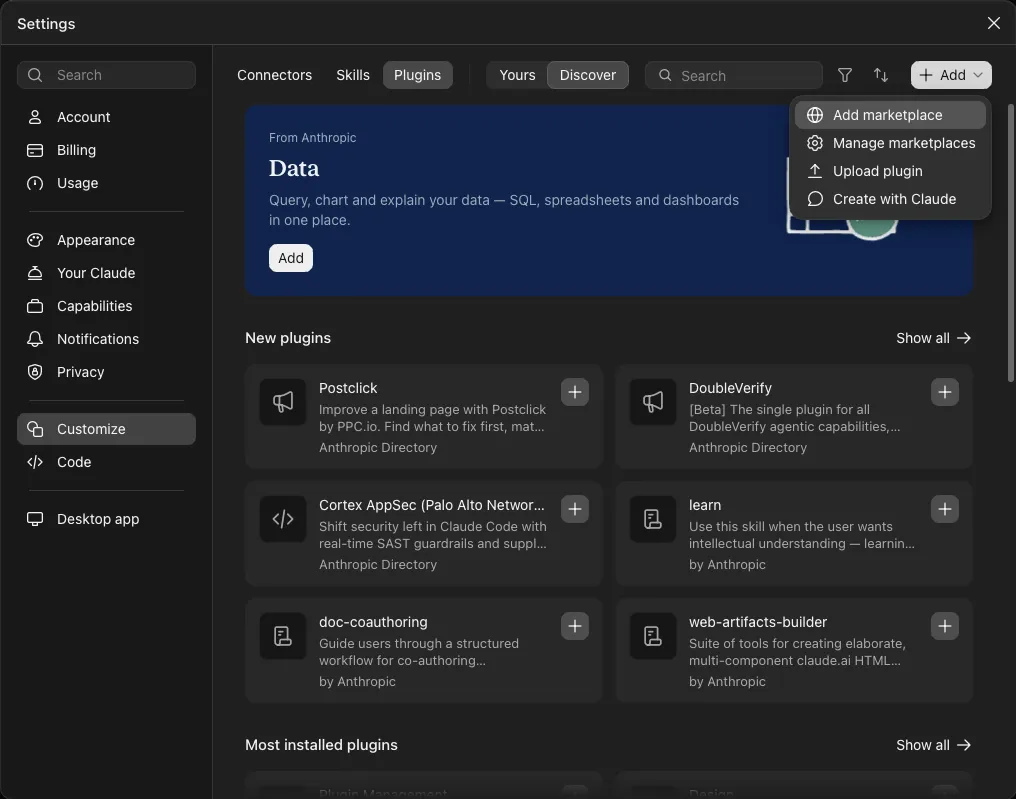
Click Add, then choose Add marketplace.
-
Choose Add from a repository. The form shows a warning: “Only add marketplaces you trust, because Anthropic doesn’t control their plugins and their owners can change them later.” It applies here too. The skills are instructions that Claude follows, so read them first if you want to know what you are adding. They are public at github.com/laneworkapp/lanework-skills.
-
In URL, type
https://github.com/laneworkapp/lanework-skills.git, then choose the row that reads Use “https://github.com/laneworkapp/lanework-skills.git” under the field. Typing alone does not submit it.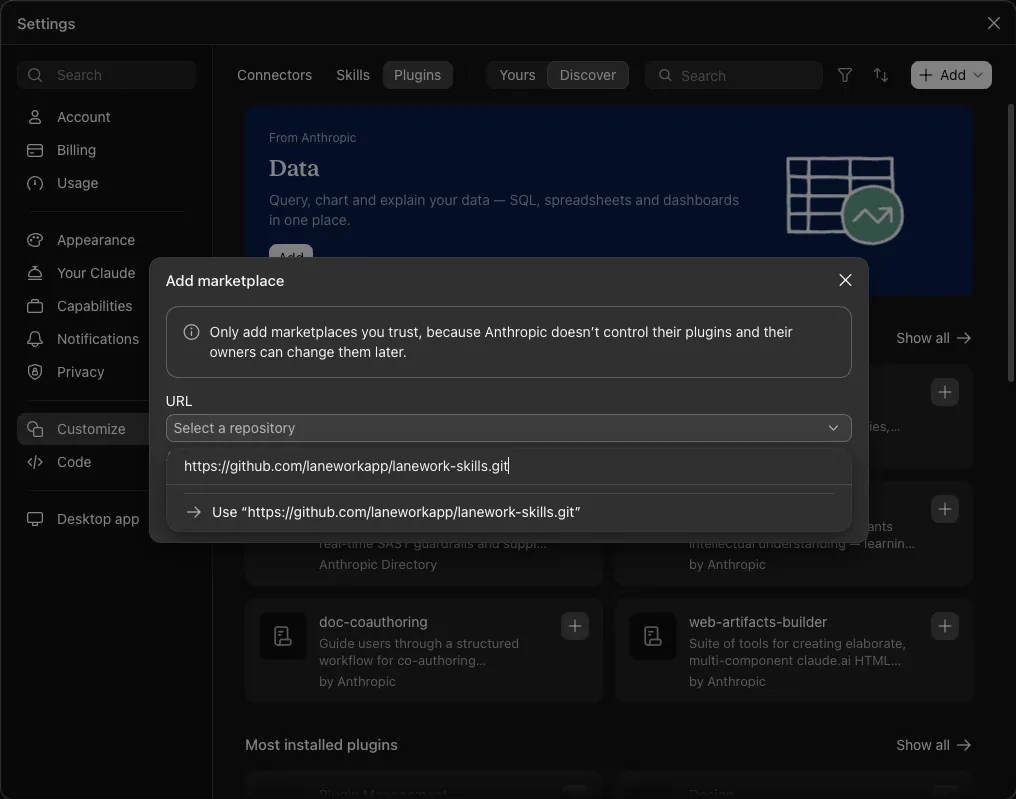
-
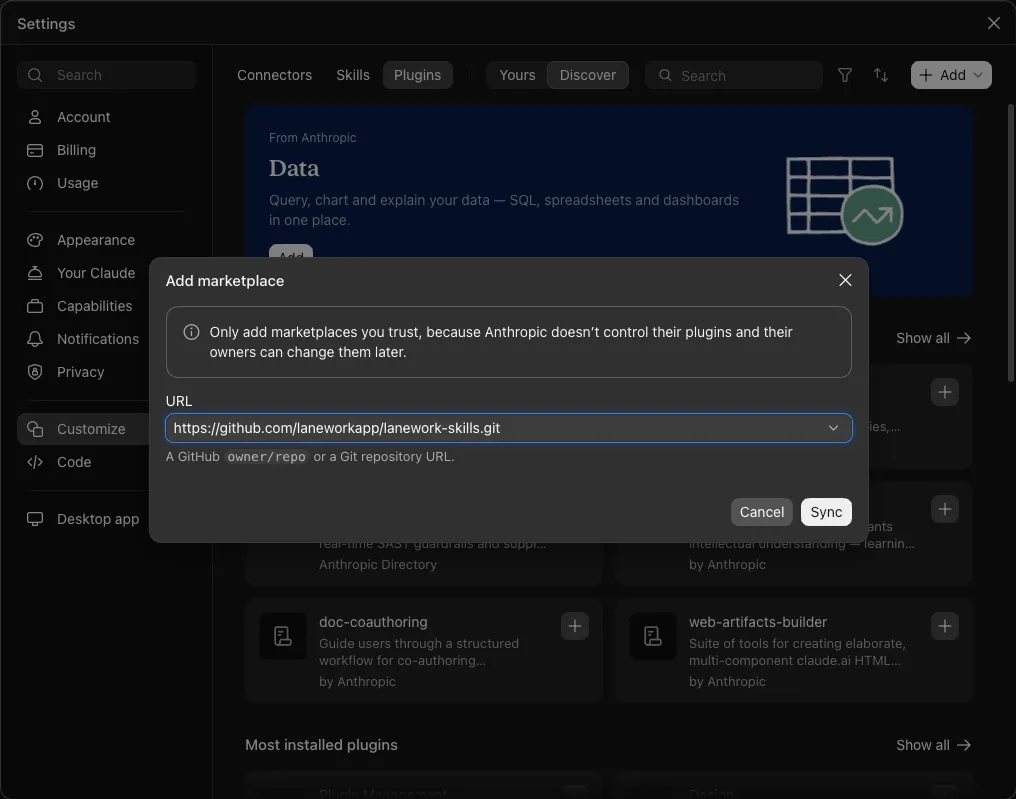
Click Sync. Syncing installs the plugin. There is nothing more to click.
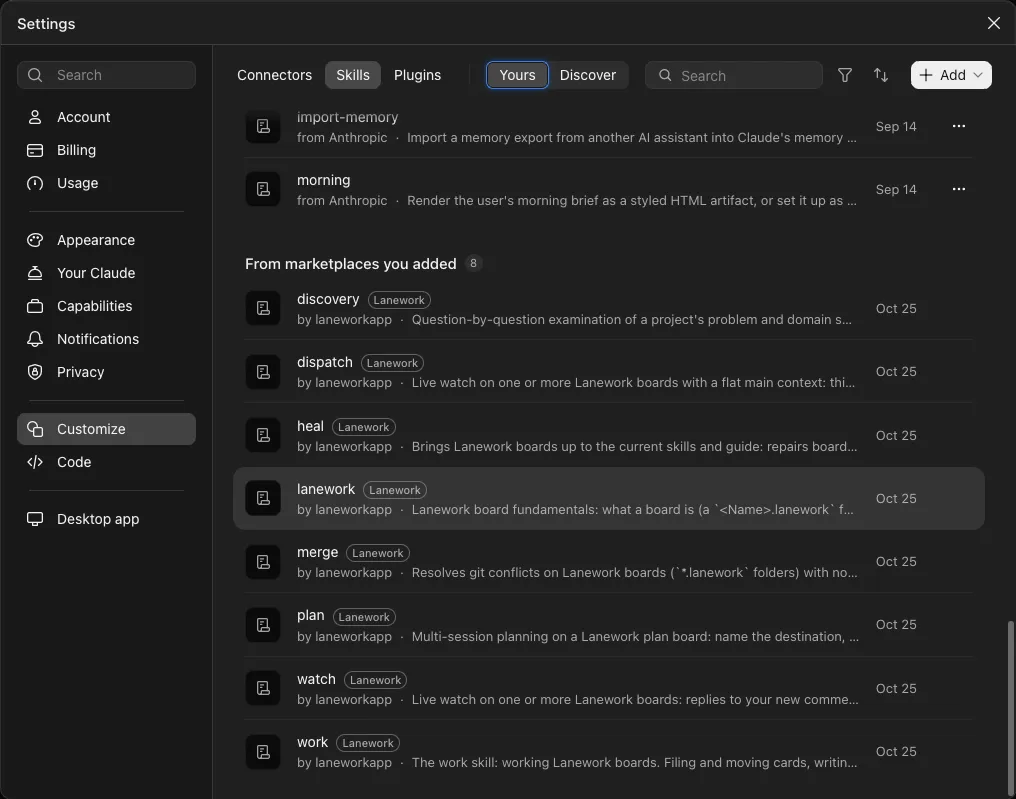
To check the install, choose Skills in the same Customize panel, then Yours. Under From marketplaces you added you should see eight skills, each tagged Lanework: discovery, dispatch, heal, lanework, merge, plan, watch and work.
If you work in a terminal instead, the same install is two commands in Claude Code:
/plugin marketplace add https://github.com/laneworkapp/lanework-skills.git/plugin install lanework@laneworkAsk Claude for a board
Section titled “Ask Claude for a board”-
In the Code tab, start a new session and choose your project’s folder.
-
Type a plain request, such as:
Found a pipeline board for this project.
Claude uses the lanework skill to make the board for you. It may ask a short question first, such as which label kinds you want. The default is fine.
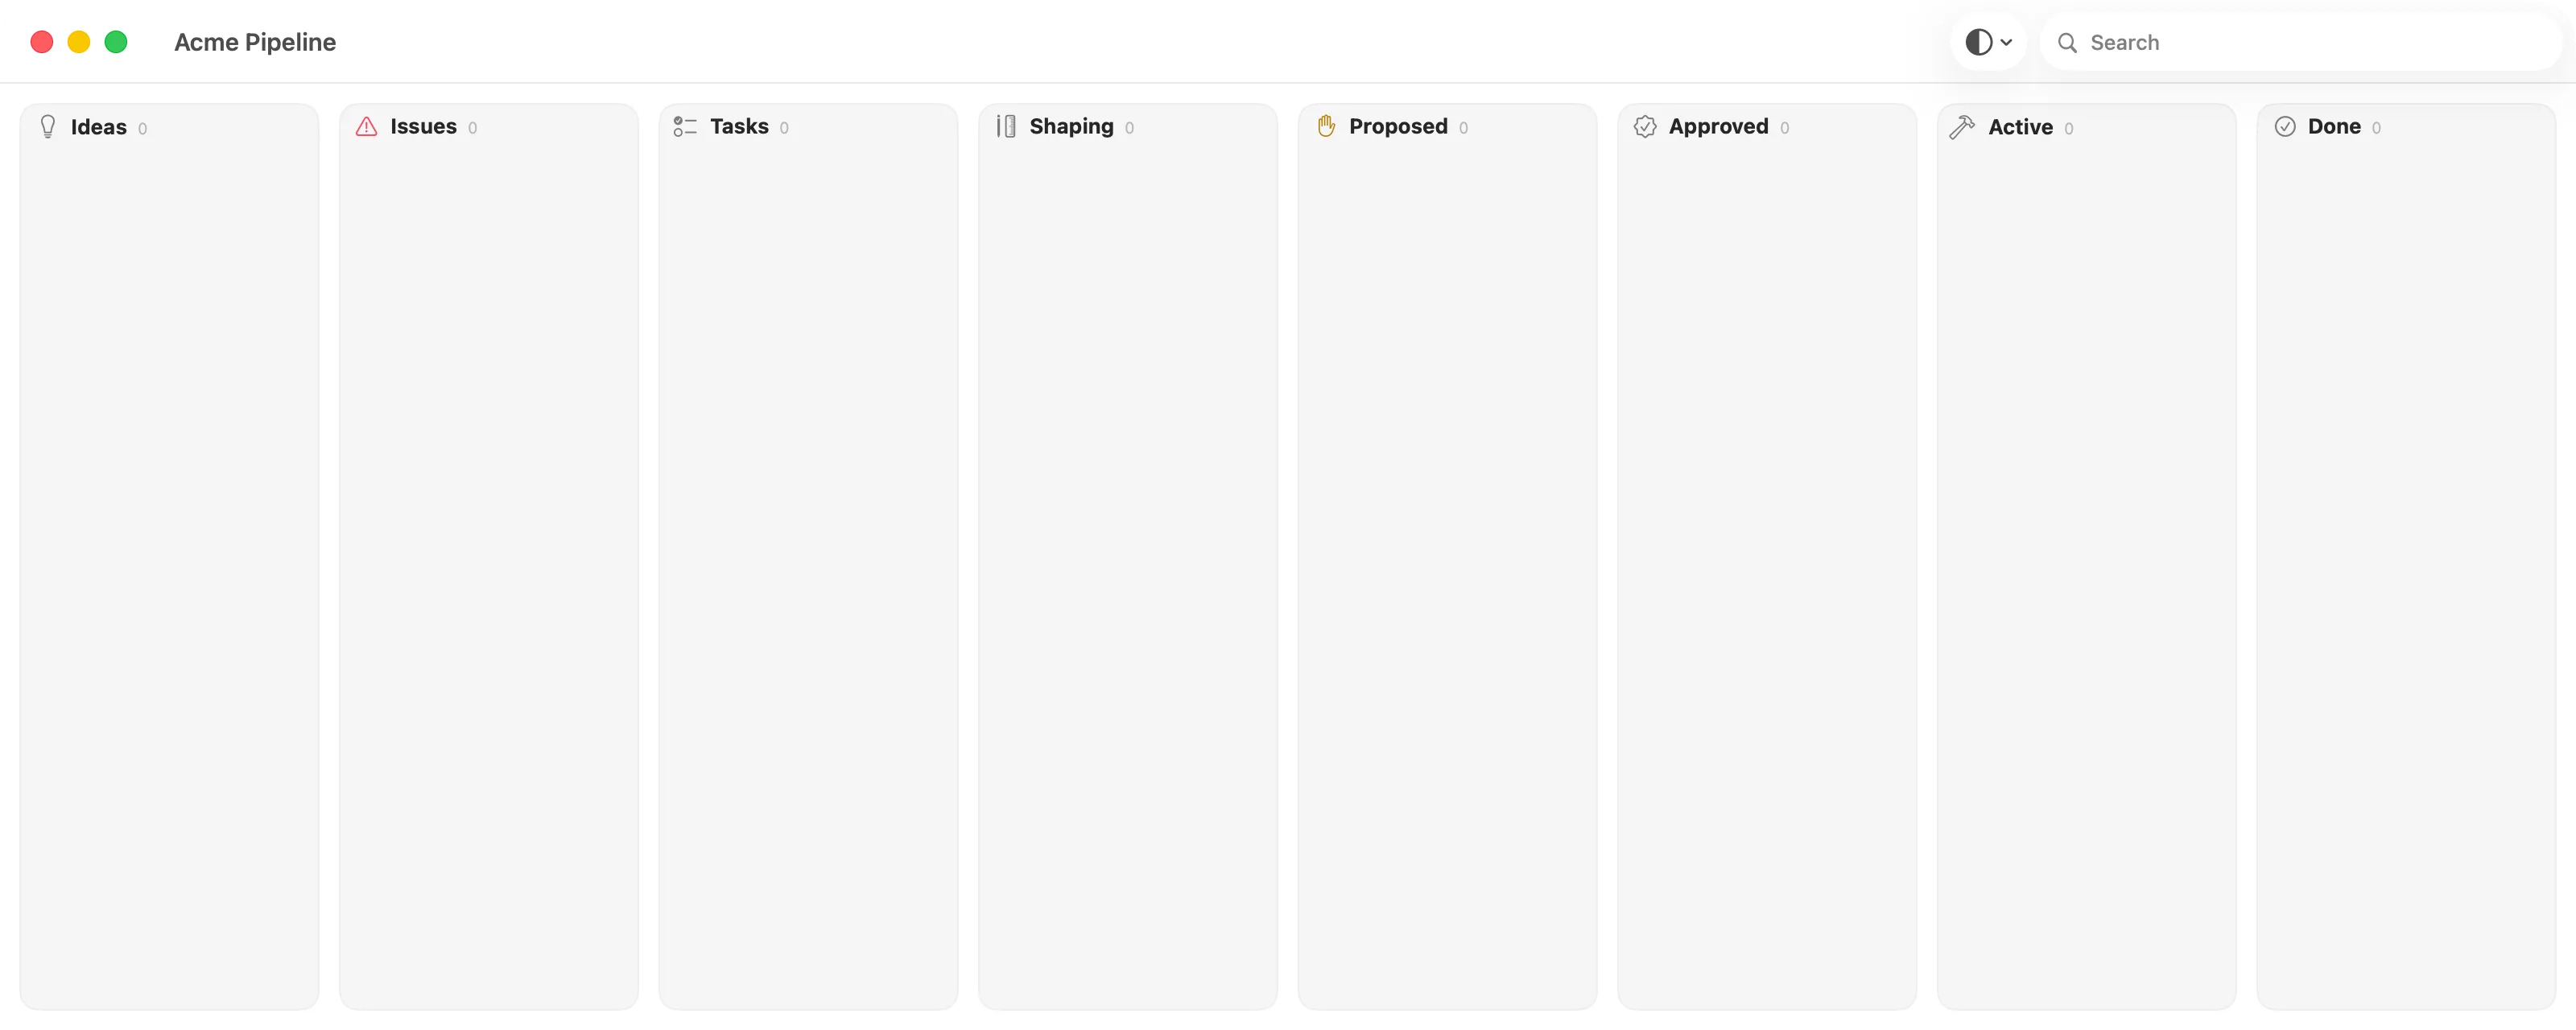
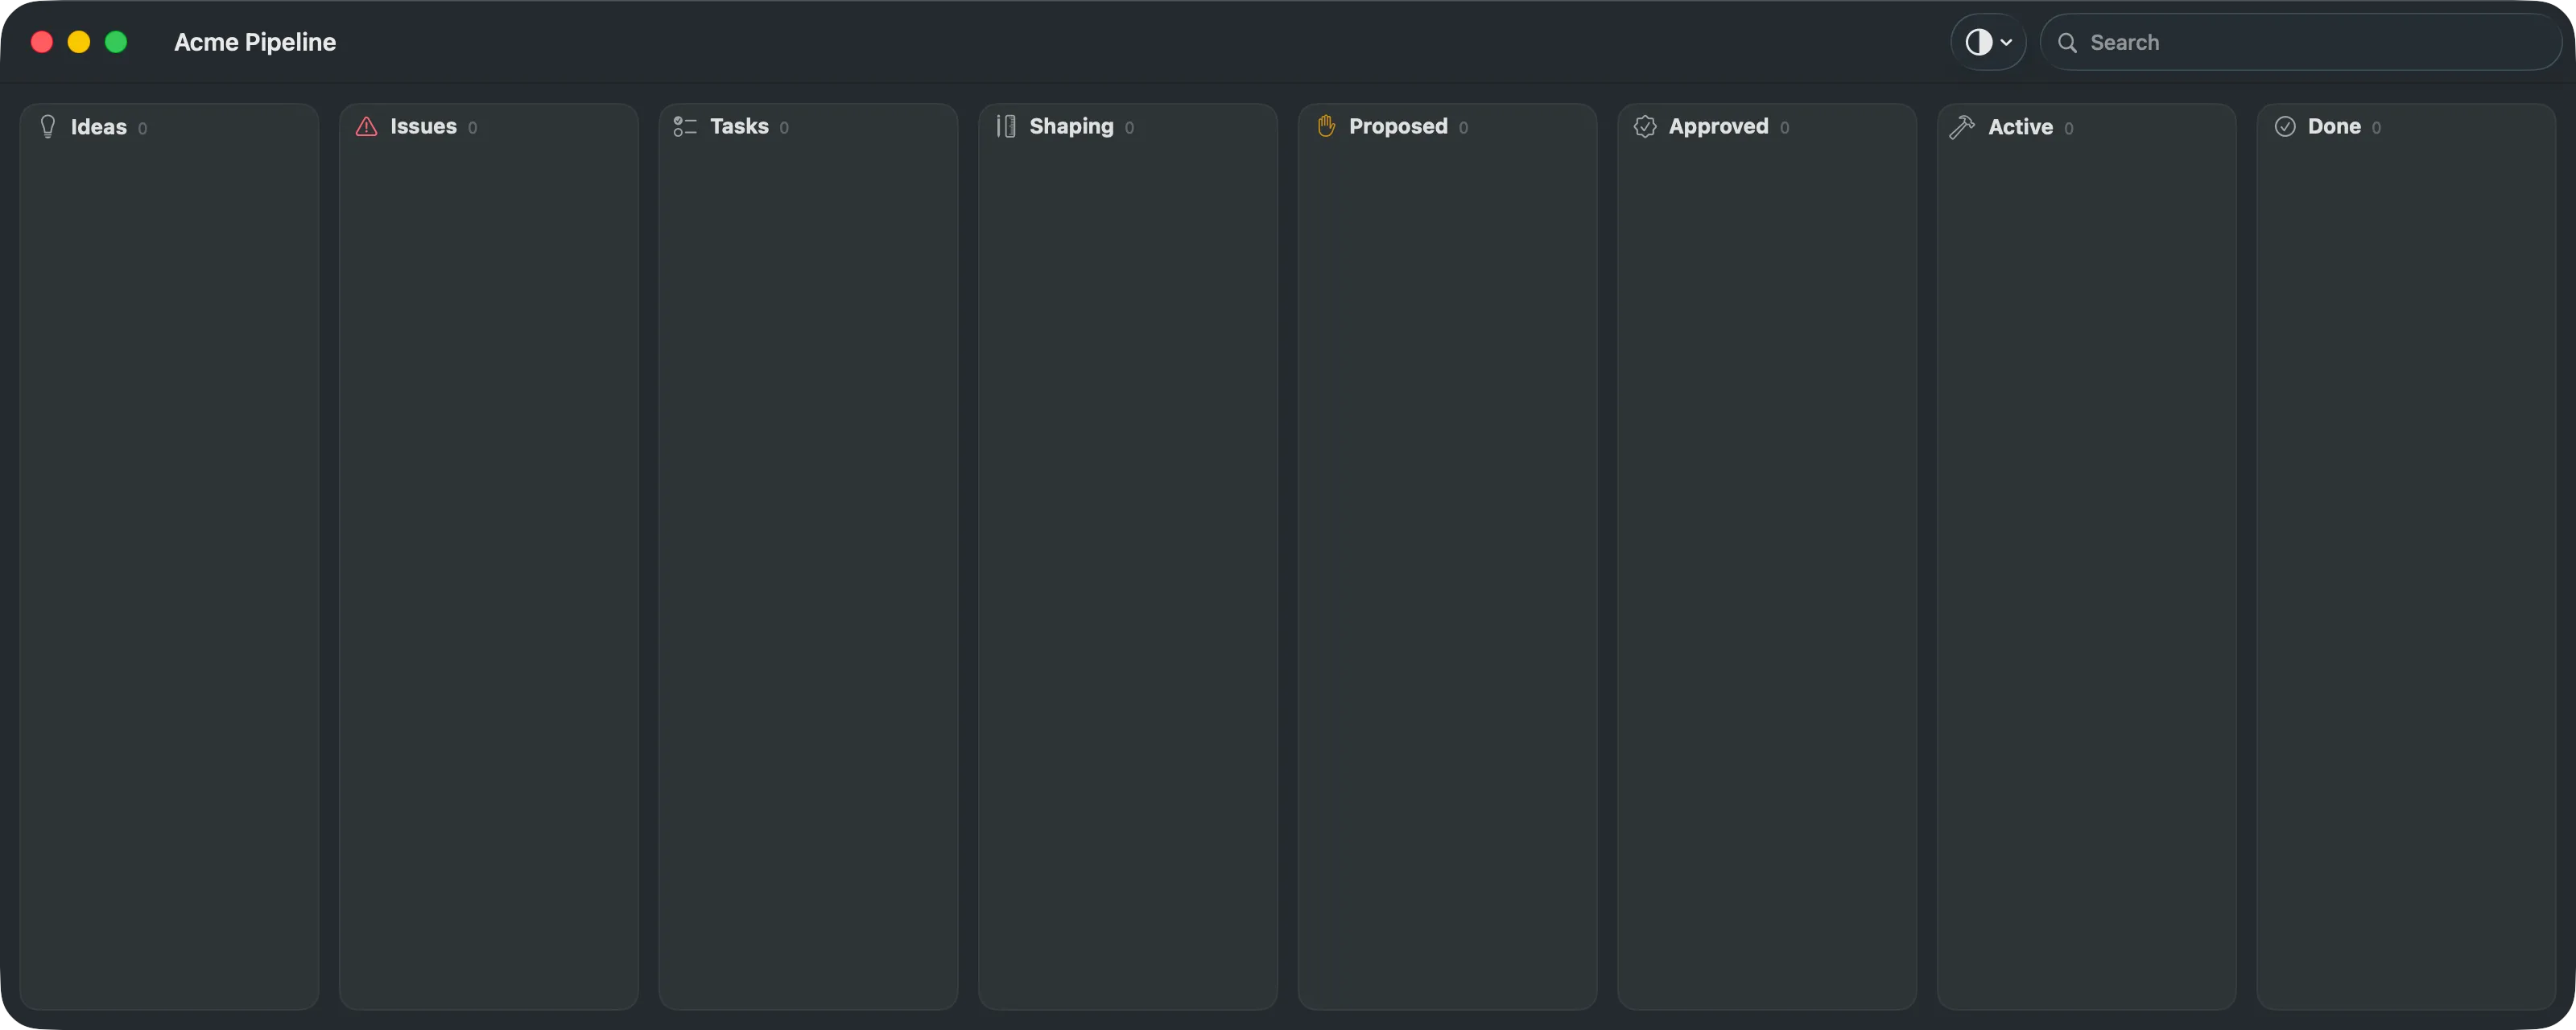
A pipeline board is the board for work that goes from a raw idea to something built. Its lanes are Ideas, Issues, Tasks, Shaping, Proposed, Approved, Active and Done. Claude puts the board in a Lanework folder at the root of your project, named after the project, such as Lanework/Acme Pipeline.lanework. The board’s description and instruction sheet say how your project’s work should flow, and every agent that opens the board reads them.
Open it once in Lanework
Section titled “Open it once in Lanework”Claude writes the board as plain files, and Lanework has not seen it yet. Open it once:
- In Lanework, choose File ▸ Open… (⌘O).
- Choose the
.laneworkfolder Claude made.
The lanes appear in order, empty. The first time you open a board, Lanework adds its own guide and schema files to it, which is how the board tells every agent the current rules. Ask Claude to commit those too, if the project is in git.
After this, keep the board window open next to Claude Desktop. Lanework shows each change the moment it lands.
Work the board by talking
Section titled “Work the board by talking”Each of these is a sentence you type to Claude. The board changes while Claude writes.
File a card. Type:
File a card in Ideas: add a dark mode to the settings screen.A card appears in Ideas, the inbox. Claude also posts a comment on it saying why the card exists. Open the card and read the comments pane to see it. If it is hidden, choose View ▸ Show Comments (⌥⌘M). See Comments.
Move a card. Type:
Move that card to Shaping.The card changes lane, from Ideas to Shaping. In a chat session, that is all a move does. In a pipeline, a card’s lane says who acts next, and Shaping is where an agent develops a card into a proposal with its scope, risks and a recommendation. Ask for that with a second prompt:
Shape that card.Claude writes the proposal into the card and moves it to Proposed, which is your review gate: approving a card is yours alone, and Claude never moves one out of Proposed for you. If the proposal needs a decision from you first, Claude asks on the card and the card waits in Shaping until you answer. The next step shows how to find those questions. An agent that is watching the board starts on a move to Shaping by itself. See Where to go next.
Ask what is waiting on you. Type:
What is waiting on me?When Claude needs a decision from you, it asks in the card’s thread and flags the card. The card wears a mark and its lane header counts it. Claude lists the flagged cards and what each one asks. In Lanework, choose View ▸ Waiting on Me to see only those cards. Reply in the card’s thread, and the flag clears when you do. See Find and filter.
You can also drag a card yourself. Claude and you are working the same files, so each sees the other’s moves.
What you have now
Section titled “What you have now”- A pipeline board in your project, open in Lanework.
- A card Claude filed, with its reasoning in the thread.
- A way to say what you want in a sentence and see it land on the board.
Where to go next
Section titled “Where to go next”Claude works the board while you talk to it. To have agents watch the board and pick up cards on their own, read Running agents from the board.