Lanes
A lane is a column of cards. This page covers adding, arranging and styling lanes. The keys a lane holds are in Lane.
Right-click a lane’s header or its empty space to see the lane menu. Most items here are in it. Hover over a lane title that is cut off to read the full title in a tooltip.
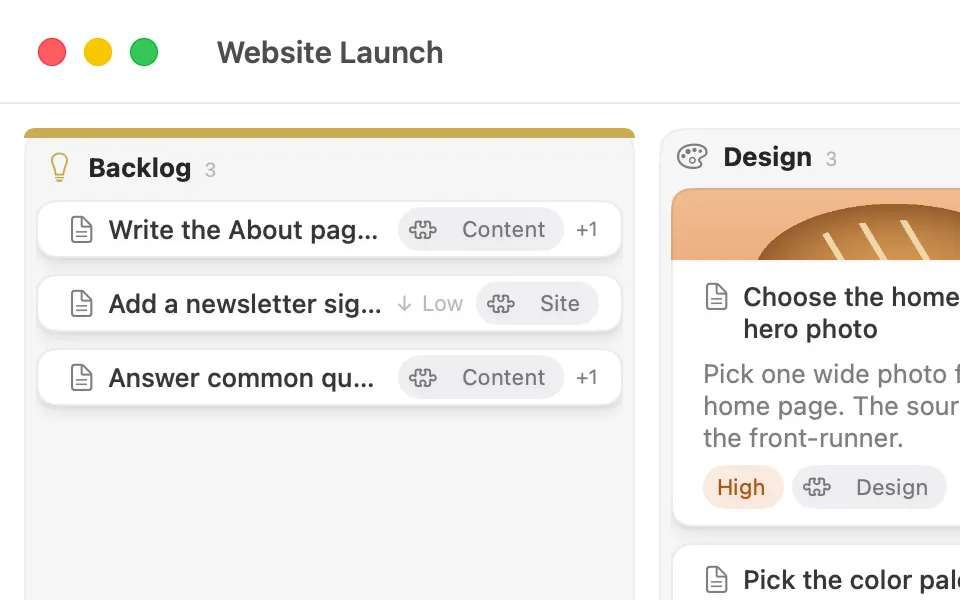
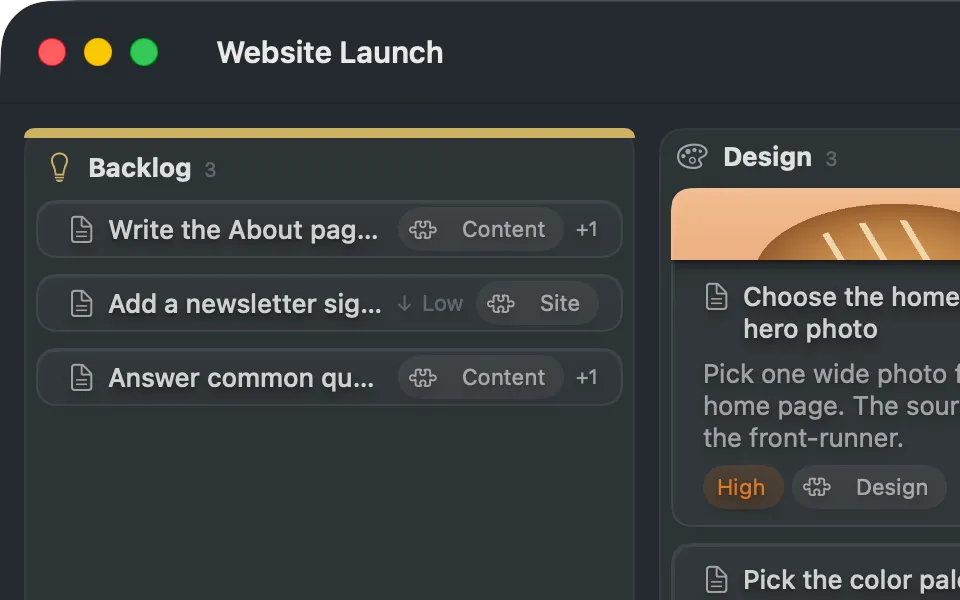
Add a lane
Section titled “Add a lane”Choose File ▸ New Lane (⇧⌘N), or click New Lane in the toolbar if you have added it. The new lane is added to the board.
Rename a lane
Section titled “Rename a lane”- Right-click the lane and choose Rename.
- Type the new name and press Return.
You can also rename it in Lane Settings.
Reorder lanes
Section titled “Reorder lanes”- Drag a lane by its header to a new place.
- Or select the lane and choose Move Lane Left (⌘←) or Move Lane Right (⌘→). Both are in the Board menu and in the lane menu.
Change a lane’s width
Section titled “Change a lane’s width”A lane is one unit wide by default.
- Drag the lane’s right edge to resize it.
- Or use Increase Lane Width (⌥⌘→) and Decrease Lane Width (⌥⌘←) from the Board menu.
- Or open the lane menu, choose Width, then pick a size such as 2× or use Increase Width and Decrease Width.
Growing the last lane can grow the window to fit. When the screen is full, the board shares the width between its lanes.
Collapse and expand a lane
Section titled “Collapse and expand a lane”Choose Collapse Lane in the lane menu to fold the lane to a slim strip. The same row then reads Expand Lane. Clicking the strip also expands it.
Hold Option while the menu is open to see Collapse Lane and Shrink Window or Expand Lane and Grow Window. These also change the width of the window.
Style a lane
Section titled “Style a lane”The lane menu has two style items:
- Lane Icon picks the symbol in the lane’s header. More Icons… opens the full picker.
- Lane Tint picks the colour of the band along the lane’s top edge.
You can also open the picker from Board ▸ Choose Icon… (⌥⌘S) with a lane selected. Select several lanes first to style them together.
Show cards as a list
Section titled “Show cards as a list”In the lane menu, choose Show As and pick:
- Cards, the default, which draws each card with its body preview.
- List, which draws one row per card without the body. It suits lanes that hold a lot.
Drag a card between a list lane and a card lane and it turns into a row or a card to match the lane under the pointer. A gap of the right size opens where it will land.
Group or filter the cards in a lane
Section titled “Group or filter the cards in a lane”Group By and Filter are in the same menu. When you drop a card into a grouped lane, it keeps its own priority, component or due date. Hold ⇧ while you drag to show every group, then drop on one to give the card that group’s value. How they work, and what each choice means, is in Grouping and filtering.
Lane Settings
Section titled “Lane Settings”Choose Lane Settings… in the lane menu. It opens Board Settings with the lane selected in the sidebar. The lane’s form has these rows:
| Row | What it sets |
|---|---|
| Title | The lane’s name. |
| Icon | The symbol and its tint. |
| Lane tint | The band along the top edge. |
| Width | How many units wide the lane is. |
| Folded | Folds the lane to a strip. |
| Show cards as | Cards or List. |
| Group cards by | Sections the lane by a date or a label kind. |
| Section order | Which end of the sections is drawn first. Shown only when the lane is grouped. |
| New cards start with | Labels added to every card made in this lane. |
Below the rows, Notes holds the lane’s notes. Most rows also exist as lane menu items. New cards start with applies only to cards you create in the lane, never to a move, a paste or a duplicate. Its file form is card-defaults, in Lane.
Sort a lane’s cards
Section titled “Sort a lane’s cards”Choose Sort in the lane menu and pick how to order the cards:
- Title, from A to Z.
- Priority, highest first.
- Due Date, soonest first.
- Date Created and Date Modified, newest first.
- Component, from A to Z.
- Reverse Order, which flips the lane’s current order.
Cards with nothing to compare, such as no due date, go last. A sort is a one-time reorder, not a setting, so new cards are not sorted into place. Choose Edit ▸ Undo to put the order back. In a grouped lane, the cards are reordered inside each group and the groups stay where they are.
Lock a lane
Section titled “Lock a lane”Lock a lane to stop edits to its cards’ content or comments.
- Right-click the lane and choose Lock Lane.
- Tick Content, Comments, or both.
- Content stops edits to a card’s title, body, attachments, hero image and relations. It also stops a card being created, pasted or duplicated into the lane.
- Comments stops comments being posted, edited or deleted in the lane’s cards. Reactions stay open.
Everything else stays open in a locked lane: labels, icon, background colour, due date, waiting flags, moving or deleting a card, reactions and copying. Moving a card into the lane is never refused.
A locked lane shows a padlock beside its title. Hover over it to read what is locked. Click it to open a popover with Content and Comments checkboxes, so you can unlock from there. Both routes are one step you can undo.
When a lock stops something you tried, a notice names the lane, for example “Content is locked in “Roadmap”. Its cards can’t be edited, and no card can be added to it.” The card window’s inspector says which locks a card’s lane holds, and the controls the lock turns off say why in their tooltips, for example “Content is locked in “Roadmap””.
A lock binds the app only. It does not stop someone editing the files by hand. What the lock stores is in Lane.
Other lane actions
Section titled “Other lane actions”To add a card, hover over the lane and click the round + that floats at its bottom-right corner. More ways are in Cards.
The lane menu also has New Card, Open in Editor (the lane’s index.md in Lanework’s own editor; hold Option for your default editor), Cut, Copy, Paste, Reveal in Finder and Send to Trash (⌘⌫).
Cutting or copying a lane takes its cards with it.